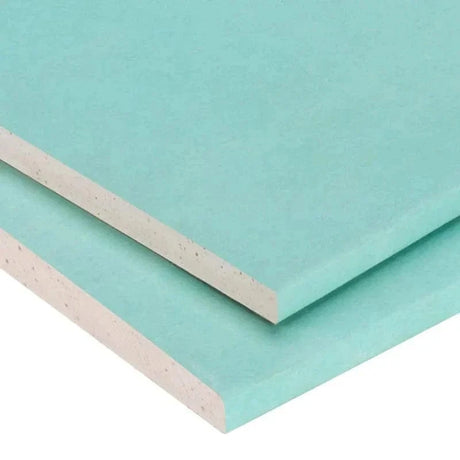
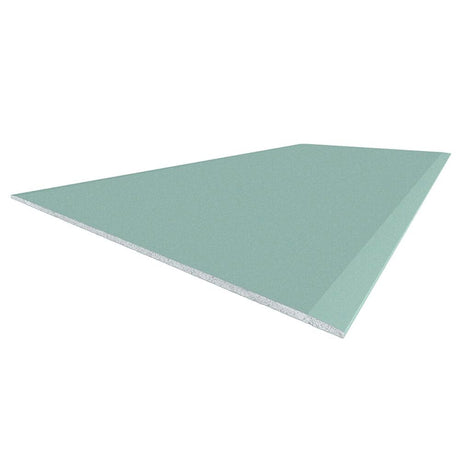
What Is Moisture Resistant Plasterboard?
Moisture resistant plasterboard, often called green plasterboard or green board after the green paper facing it is usually supplied with, is a gypsum board treated with water repellent additives in both the core and the paper liners. This treatment significantly slows the rate at which the board absorbs moisture compared with standard plasterboard, making it the recommended specification for any internal space where humidity levels are regularly high.
Moisture resistant plasterboard is not waterproof. It is designed to resist moisture in the air and cope with occasional surface moisture, not sustained or direct water contact. For wet rooms, shower enclosures or any area where water will be in consistent direct contact with the substrate, tile backer boards are the correct specification. Understanding that distinction before starting the job saves a lot of work later.
Where Should You Use Moisture Resistant Plasterboard?
Green plasterboard is the recommended board type for walls and ceilings in bathrooms, en-suites, kitchens and utility rooms. Any space that regularly sees elevated humidity from cooking, bathing or washing is a candidate. It is suitable for both wall and ceiling applications in these areas, though for ceilings in particularly steamy environments, fixing centres and board thickness both warrant consideration to keep the finished ceiling stable.
For areas that go beyond high humidity into direct water exposure, the specification needs to step up. A shower enclosure where tiles sit directly under the showerhead, a wet room floor, or a splashback directly behind a tap all sit in territory where tile backer boards outperform moisture resistant plasterboard.
The moisture resistant plasterboard range at Insulation UK includes boards from British Gypsum and Siniat alongside our own-brand range, covering both standard and tapered edge options in 12.5mm and 15mm thicknesses.
Metal Stud vs Timber Frame for Bathroom Plasterboard
The framing you fix the boards to matters as much as the boards themselves in a high-humidity environment. Timber studwork is common in domestic construction and works well in many situations, but in bathrooms, en-suites and anywhere humidity regularly rises, metal stud framing is the more reliable choice. Metal profiles do not absorb moisture, will not swell or warp, and will not become a source of mould behind the finished wall.
| Factor | Metal Stud | Timber Frame |
|---|---|---|
| Moisture behaviour | Metal profiles do not absorb moisture | Can be affected by moisture in persistently humid conditions |
| Stability | Will not swell or warp | Performs well when in good condition and well ventilated |
| Mould risk | Will not become a source of mould behind the finished wall | Higher risk in steamy, poorly ventilated spaces |
| Best suited to | New bathroom builds, wet area renovations and en-suites | Kitchens, utility rooms and other less demanding spaces |
If you are fixing moisture resistant plasterboard to an existing timber frame in a less demanding space, such as a kitchen or utility room, the timber will generally perform fine provided it is in good condition and the room has reasonable ventilation. For new bathroom builds or wet area renovations, metal stud is the more robust choice.
Tools and Materials for Installing Green Plasterboard
Having everything to hand before work starts makes the job considerably smoother. For a standard moisture resistant plasterboard installation you will need:
- Metal stud or timber frame profiles and fixings
- Moisture resistant plasterboard in the right thickness
- Drywall screws suited to the board thickness and frame type
- Jointing tape and jointing compound
- Drywall sealer, for applying two full coats across the board face
- A sharp utility knife and a long straight edge for cutting
- A drywall or plasterer's saw for internal cutouts
- Waterproof tile adhesive if tiling, or a waterproof base coat and bathroom-rated paint if painting
The plasterboard fixings and accessories range at Insulation UK covers jointing compounds, scrim tape, adhesives and the finishing materials you will use alongside the boards.
How to Install Moisture Resistant Plasterboard Step by Step
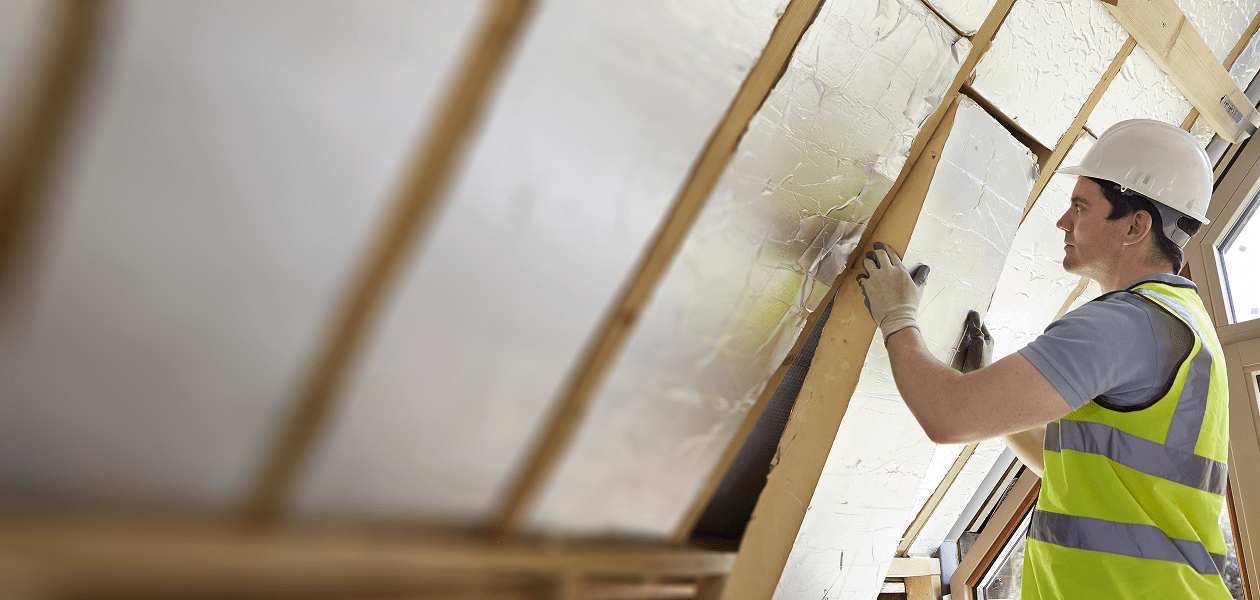
Start by installing the metal stud or timber frame the boards will fix to. In bathrooms and other high-humidity spaces, metal profiles are strongly recommended. The frame needs to be plumb, level and secure, with studs positioned at centres that suit your board size, typically 400mm or 600mm for standard 1200mm-wide boards. Make sure any electrical back boxes and pipework are in place before the boards go on.
Lift the boards into position and secure them to the frame with the correct drywall screws for the board thickness. For 12.5mm board on metal stud, 25mm or 32mm drywall screws are the typical specification. Drive screws at roughly 300mm centres across the field of the board, reducing to 150-200mm at edges and board ends, making sure each screw head sits just below the face of the paper without breaking through it. A broken paper face around a screw reduces its holding strength and creates a weak point where moisture can get in. Where boards meet, keep the tapered edges together to form the shallow channel needed for jointing, and stagger board joints between rows so no continuous vertical joint runs the full height of the wall.
Once all boards are fixed, fill and tape the joints between them. Apply a bed of jointing compound along each joint, press jointing tape firmly into it, then apply a finishing coat over the tape, feathering out the edges to keep the surface as flat as possible. Allow to dry fully before sanding smooth. Pay close attention to the joints and around each screw, as any gaps left here become a route for moisture to work behind the boards over time.
This step is specific to moisture resistant plasterboard and is one of the most commonly skipped parts of the process. Before any tile adhesive or paint goes on, apply two coats of drywall sealer across the entire board face, not just the joints. The sealer penetrates the paper surface and significantly improves the board's resistance to moisture ingress, giving the finish a much more stable base to bond to. Each coat needs to dry fully before the next. If you are tiling, make sure the sealer is tile-adhesive compatible. Do not use PVA as a primer under tiles: it is not compatible with cement-based tile adhesives and will cause adhesive failure. The sealer applied here is sufficient preparation for both tiling and painting, with no additional priming stage required before the adhesive or base coat goes on.
Once the sealer is dry, the board is ready for tiling or painting. The drywall sealer applied in step 4 is the only preparation needed before tiling. For painted finishes, apply a waterproof base coat followed by two to three coats of interior bathroom paint. The sections below cover both finishing routes in more detail.
How to Cut Moisture Resistant Plasterboard
Green plasterboard cuts in exactly the same way as standard plasterboard. Score firmly across the face with a sharp knife and a straight edge, then snap the board away from you along the score line. Complete the cut by running the knife along the paper liner on the back. A clean, firm score on the face is the key step: a shallow score takes more force to snap and is more likely to produce a ragged edge.
For internal cuts such as socket and switch cutouts, a drywall or plasterer's saw is the right tool. Score the outline first to give the saw a clean line to follow and to protect the surrounding paper face while you work.
Tiling Over Moisture Resistant Plasterboard
Moisture resistant plasterboard is suitable for tiling, but a few checks should be made before the adhesive goes on. The board must be fully sealed and primed, and the combined weight of the tiles and adhesive needs to be within what the board and fixing arrangement can support. Heavier materials, including thick porcelain, natural stone and large format tiles, need careful consideration of both the substrate weight rating and the adhesive specification.
Use a waterproof tile adhesive rated for humid environments and keep the grout lines sealed once the tiles are in place. At internal corners, leave a small gap rather than running tiles tight into the corner, as drylining walls have a small amount of natural flex and a tight corner can cause tiles to crack over time.
For shower enclosures, or any area where water will be sitting directly on the wall surface, tile backer boards are the correct choice rather than green plasterboard.
Painting Moisture Resistant Plasterboard
For painted finishes, prime the sealed board with a waterproof base coat before applying the topcoats. Standard emulsions will not hold up in bathrooms and kitchens, so the paint needs to be specified for humid or wet environments. Two to three coats of bathroom-rated interior paint, with adequate drying time between each coat, provides a finish that will perform well under normal bathroom conditions.
Common Mistakes When Installing Bathroom Plasterboard
Most installation errors with moisture resistant plasterboard come down to using the wrong product for the level of moisture exposure, or cutting corners in the finishing stages.
Using standard plasterboard in a bathroom instead of green board is the most obvious mistake. Using moisture resistant plasterboard in a shower enclosure or wet room, where a tile backer board is needed, is an equally significant error in the other direction. The two products are built for different environments, and swapping one for the other creates problems that only become obvious once the finish starts to fail.
Beyond product selection, the most common installation errors are:
- Fixing to timber in a high-humidity space when metal stud is the better choice.
- Skipping the drywall sealer, or applying only a single coat.
- Using standard rather than waterproof tile adhesive.
- Leaving gaps at edges and corners unsealed.
None of these are complex to avoid, but each one has a meaningful impact on how long the finished wall holds up.
For further reading on drylining and plasterboard in specialist applications, the insulated plasterboard installation guide is worth a look for anyone working on thermally upgraded walls, and the Fermacell drylining guide covers an alternative board system used in high-performance and commercial drylining.
Moisture resistant plasterboard is the standard specification for walls and ceilings in bathrooms, kitchens and any space that regularly sees elevated humidity. The installation process follows the same basic steps as standard drylining, but the framing choice, drywall sealer and finishing materials all need to be suited to the environment. Getting those details right from the start is what separates a bathroom renovation that looks good for a few years from one that holds up for decades.
Find the Right Board for Your Project
Browse our moisture resistant plasterboard alongside the fixings, tapes, compounds and sealers to finish the job, all available for delivery across the UK. Need a hand choosing? Call the team on 03003 034 578.