


Looking to maximize the space in your home while adding value? Boarding your loft is the perfect solution. By converting your dusty and unused loft into a functional and accessible area, you can fully utilize every square inch of space. Whether it's for storing seasonal items, creating a cosy reading nook, or even having an extra bedroom, boarding your loft offers endless possibilities.
Not only does boarding a loft enhance your living experience, but it also adds value to your home. With soaring house prices, utilizing your loft by creating usable space not only benefits you personally but also increases the market value should you decide to sell in the future. It's a cost-effective way to boost both functionality and value.
Energy Efficiency at its Best: Insulate and Board Your Loft, In addition to adding value and functionality, boarding a loft has another significant advantage – improved energy efficiency. Properly insulating the walls and floorboards while boarding helps reduce heat loss from the top floor of your property. This means saying goodbye to drafts and keeping warm air trapped inside during colder months.
Lower heating bills are just one of the benefits of improved energy efficiency. By preventing heat from escaping through an insulated boarded loft, you'll be contributing towards a more environmentally friendly home. Plus, budget-savvy homeowners will appreciate the long-term savings on their energy bills.
Overall, there are numerous compelling reasons why boarding a loft makes sense for any homeowner who wants to make the most out of their space. It provides valuable storage options, increases property value at minimal cost compared to other renovations.
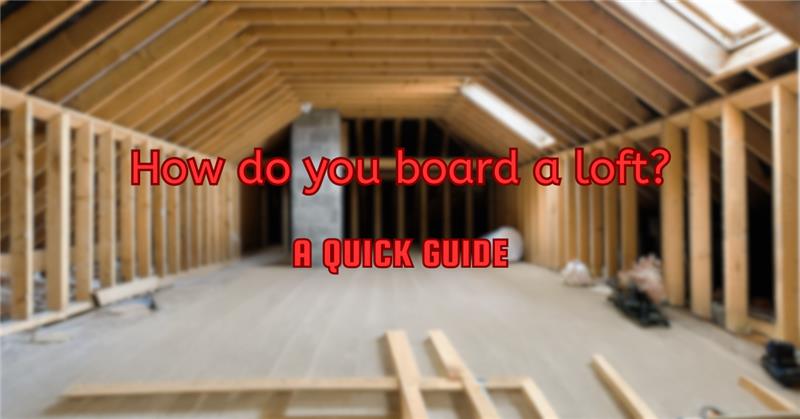
Now, onto the reason you visited this guide:
To board a loft, follow these step-by-step instructions:
*You are able to combine steps 4 & 5 by utilising an [insulated loft deck (Tekwarm Insulated Loft Deck 1200mm x 600mm x 86mm | insulationuk.co.uk)
**Don't forget the walls and roof if you are planning on using it as a more 'lived in' room, you can use combination insulation of plasterboard and thermal insulation (Tekwarm PIR Insulated Plasterboard - Thermal Laminate 2400mm x 1200mm (insulationuk.co.uk)) to seamlessly create your room.
- Measure and Plan: Start by measuring the available space in your loft to determine how many boards you will need. Consider any obstacles such as pipes or electrical wires that may require additional planning.
- 2. Clear the Area: Before installing the boards, remove any stored items or debris from the loft space to create a clean working area.
- Install Loft Legs: If your loft does not already have an elevated floor, consider installing loft legs. These are plastic or metal supports that raise the floor level and provide ventilation space between the insulation and the boards. Follow the manufacturer's instructions for installation.
**4. Lay Insulation: If your loft does not have existing insulation, you may want to install it before boarding to enhance energy efficiency and prevent heat loss. Follow proper insulation installation procedures based on the type of insulation material you are using.
*5. Install Boards:
a. Start by laying your first board along one side of the loft, perpendicular to the ceiling joists.
b. Use screws or nails (appropriate for your loft structure) to secure each board into place, ensuring they are fixed securely into the joists.
c. Leave a small gap (around 10mm) between each board to account for expansion caused by temperature changes.
d. Continue laying boards across the entire loft space until it is fully covered.
- Cut Boards:
a. Measure and mark any boards that need cutting to fit around obstacles such as pipes or vents.
b. Use a saw appropriate for cutting through your chosen board material to make accurate cuts following your markings.
- Access Panels: If you have items in your loft that may require future access, consider creating access panels in appropriate areas by leaving certain boards removable or hinged.
- Finish:
- Once all boards are installed, double-check their stability and make any necessary adjustments.
b. If desired, you can paint or seal the boards to protect them from moisture or to match your aesthetic preferences.
If you have any questions in regard to the process or materials, then please contact us directly on 03003034578. We have YEARS of experience in insulation solutions, and we'd love to help you with any project!


